Published
Friday, July 19, 2019
Last Updated
For holes six inches and smaller, repair them using the California (aka “Butterfly”) patch method. Simple and effective, follow this step-by-step guide the next time a slammed door or runaway toy makes an unsightly hole in your wall.
Drywall tool list
• Keyhole saw
• Drywall board
• Utility knife
• Drywall knife
• Joint compound
• Sanding sponge (fine grit)
• Paint
Step 1
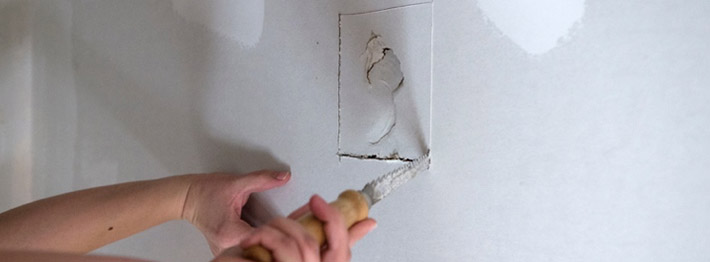
Before beginning, use a flashlight to check inside the hole for any studs, plumbing or electrical wires that would interfere. If clear, use a keyhole saw to square off the small hole in your wall so that it’s easier to fit the patch. Measure the opening.
Step 2
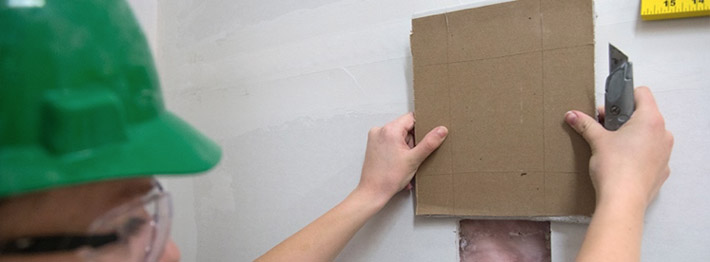
Cut a new piece of drywall that is two inches bigger than the opening on all sides.
Step 3
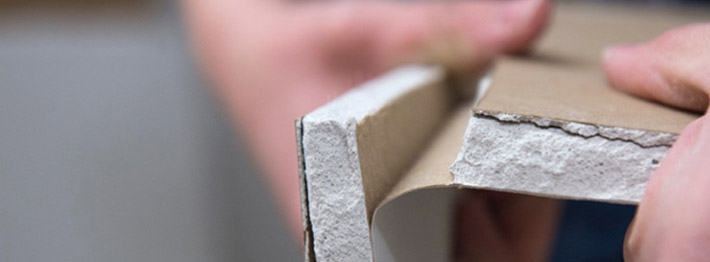
Score the back of the drywall two inches from each side.
Step 4
Snap off the outer gypsum area and peel it from the paper backing, leaving the “wings” that will be adhered to the wall in the next steps.
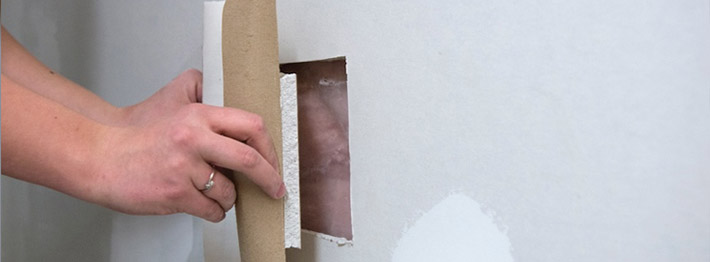
Step 5
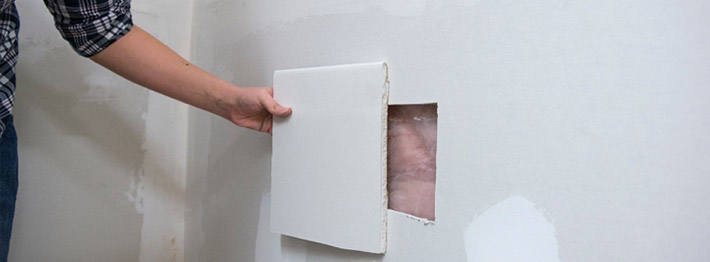
Hold the patch over the opening. If it doesn’t fit in the opening, trace the remaining gypsum around the opening on the wall with a pencil and cut to fit. Once it fits, trace the outer flaps onto the wall.
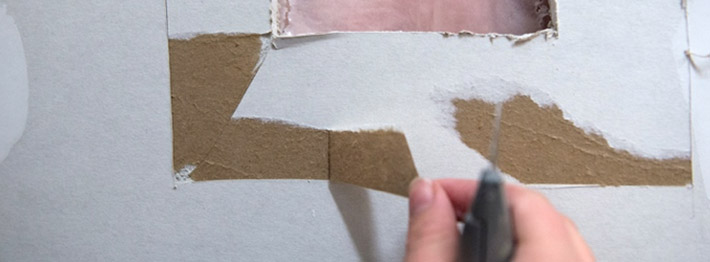
Step 6
Score the wall and remove just the paper of the area marked around the opening. This will allow the patch to lie flat in the wall.
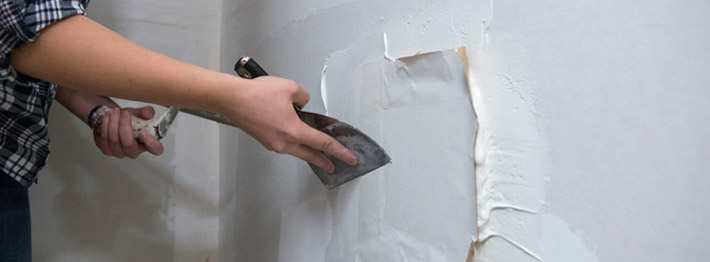
Step 7
Apply joint compound to the paper wings like glue and press the patch into the opening. Using a drywall knife, flatten the paper to the wall.
Step 8
Cover the patch with a thin layer of joint compound. Let dry and apply additional coats as needed.
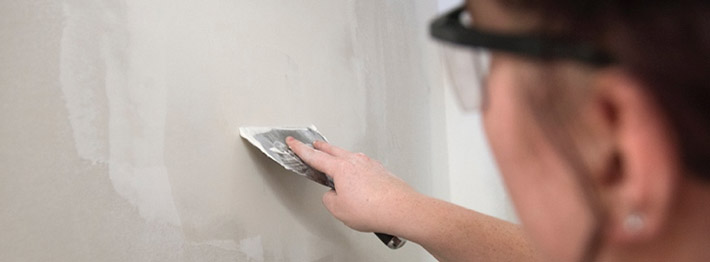
Step 9
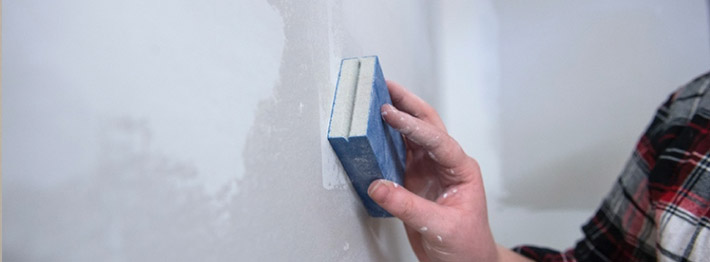
Once dry, sand the patch until smooth.
Step 10
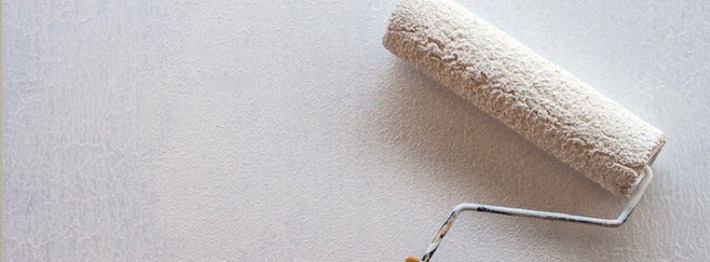
Cover the patch with primer and paint.
Tip:
Save leftover paint for touching up your walls.